
Delta Force Beginner's Guide 2026: Loot, Audio Cues, and Movement Tech That Actually Win Raids
Most new Delta Force players lose gear not because they lack aim, but because they haven't learned the game's information systems yet. This guide covers the audio tells, loot priorities, movement tech, and operator fundamentals that separate a beginner lobby grind from a player who can hold their own on normal and high-tier maps.
Everything here comes from direct raid experience and squad coaching sessions, so you're getting the practical version — not a stat sheet.
Why Delta Force Feels Different From Other Extraction Shooters

Delta Force blends the operator-and-gadget structure of a hero shooter with the loot-and-extract loop of a Tarkov-style game. That combination is what makes it feel, in the words of players coming from other titles, like a mix of Apex Legends and Rainbow Six Siege dropped into an extraction format.
The two systems you need to master early are audio and loot value. Get those right, and the rest of the game — gunfights, tasks, extractions — becomes far easier to manage.
Audio Cues: The Skill Most Beginners Skip

Delta Force's audio design is one of its strongest features, and it's also the fastest way to win fights before they start.
Enemy footsteps are almost always audible. If you hear footsteps at all, they belong to a threat worth tracking.
You cannot hear your own teammates' footsteps. This cuts audio clutter dramatically, so anything you hear nearby is either an AI bot or an enemy player.
AI bots cannot jump or mantle. Any jump sound or climbing sound guarantees a human player is nearby — this is the single most reliable tell in the game.
Echoing, hollow footsteps mean an enemy is below you (basements, tunnels, lower floors).
Heavy, booming thumps mean an enemy is above you.
Fully geared players sound slightly heavier and slower than lightly equipped bots — a subtle but useful read once you've logged enough hours.
Practical tip: if you hear a jump or mantle sound during a firefight, treat it as confirmation of a live player repositioning, not a bot patrol route.
Loot Priority: What's Actually Worth Grabbing
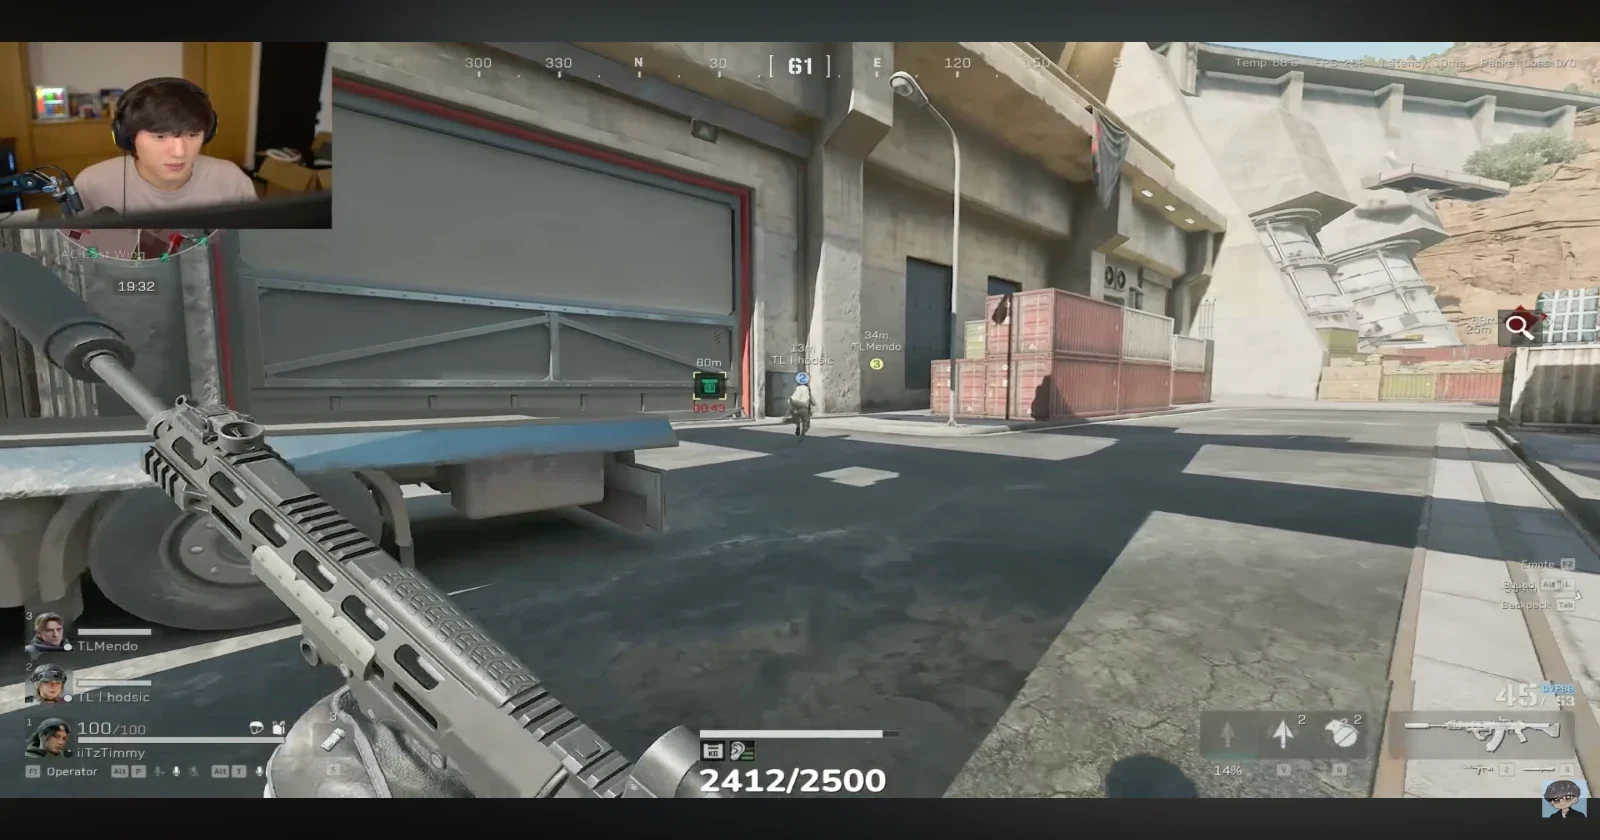
New players tend to loot everything, which slows down rotations and fills bag space with items worth almost nothing. Prioritize by color and category instead.
Item rarity by color: red (top-tier collectibles), then gold, purple, and blue. Reds and golds are worth your time; most blues aren't.
Ammo stacks are consistently high value, especially armor-piercing calibers on normal and higher-tier maps — some 5.45 stacks alone are worth roughly 36k.
Strong rifles hold significant value; a KC-17, for example, can sell for around 500k.
40-slot backpacks are some of the best pulls in the game, often worth 800k or more, and they also solve your carry-capacity problem for the rest of the raid.
Large red collectibles (sometimes called "diamond" tier items) can be worth millions — always inspect big red items, since unique ones have distinct animations confirming their rarity.
High-value spawn points include safes, keycard rooms, and locations like Tide Prison, which have better odds for rare loot on harder difficulties.
Example Loot Values

5.45 ammo stack — ~36,000
KC-17 rifle — ~500,000
40-slot backpack — ~800,000
Rule of thumb: if it's not purple-or-better, ammo, or a named rifle, don't waste inventory space on it in your first few weeks.
Efficient Looting Workflow
Speed matters as much as what you pick up. A slow loot cycle gets your whole squad caught out in the open.
Strip bodies and drop everything into a single pile, then press H on the pile to open all searched loot at once instead of clicking each corpse individually.
Spam F on piles or items for fast pickup; use drag-and-drop when swapping armor or rigs mid-fight, since it's faster than the pickup prompt.
Multiple squadmates can loot the same pile simultaneously — there's no need to take turns unless your group has loot-stealing prevention enabled.
Keep meds and ammo in your rig and pockets, not just your backpack — only items in these two slots appear in the quick medwheel and instant reloads.
Backpacks nest to a limited degree; unlike some extraction shooters, you can't chain bags inside bags infinitely, so don't rely on that for extra capacity.
Repairing and Swapping Gear Mid-Fight
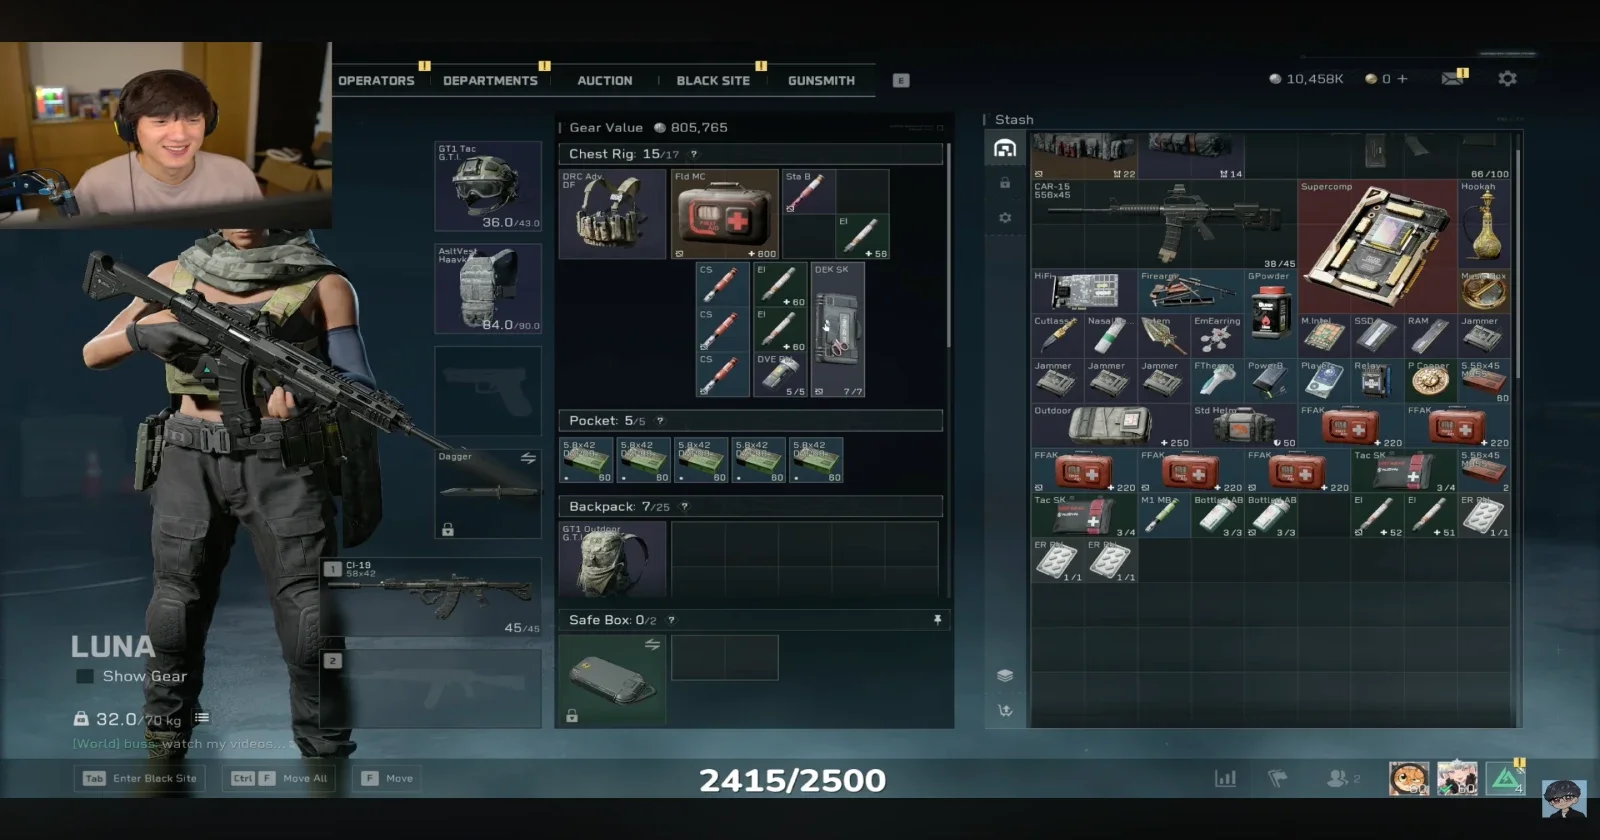
Repair kits work on any tier of armor regardless of the kit's own rarity — a low-tier kit on high-tier armor just restores less durability, with no penalty beyond that.
While healing, you can instantly swap to a fresh helmet or armor pulled straight from your backpack, which gets you back to full effectiveness without needing to fully disengage. Extra armor and helmets you're carrying are mainly for these swap plays, or for carrying spares out at extraction — they're not a primary money-maker, so don't over-invest bag space in them early on.
Movement Tech Worth Practicing
Delta Force rewards mechanical movement skill more than most extraction shooters.
Jump-shooting is fully accurate in midair with high-handling weapons, meaning you can duel effectively while airborne if your gun choice supports it.
Slide-jump operators like D-Wolf get near-Apex-Legends levels of movement speed, making slide-jump peeks a strong dueling tool.
Bunny-hopping can stabilize your aim. Repeated jumps at the right rhythm remove red-dot sway that would otherwise build up during aim-down-sights.
Keep jump and mantle on separate keybinds. Combining them is one of the most common causes of accidental deaths — you'll mantle into the open when you meant to jump for cover, or vice versa, mid-fight.
Operator Basics: Luna and D-Wolf
Two of the most beginner-relevant operators are Luna (Recon) and D-Wolf (Assault) — and both show up constantly in coordinated squads for good reason.
Luna deals damage that briefly marks enemies, giving her team a short window of team-wide tracking information. Her scan differentiates AI (marked in one color) from real players (marked in another), which lets you prioritize threats instantly instead of guessing. Because her kit is about information rather than raw damage, she rewards a survive-and-support playstyle over aggressive pushes.
D-Wolf is built around his Motorized Exoskeleton, which boosts sprint speed and lets him perform tactical slides — a mobility tool other operators don't have access to. He's a strong pick for players coming from Call of Duty or Apex who want an aggressive, flanking playstyle rather than a passive one. Knocking down enemies while his ability is active extends its duration and restores health, which rewards continued aggression rather than a single hit-and-retreat.
Smoke grenades counter Luna-style scans directly — standing inside a smoke cloud blocks enemy team-wide tracking abilities, so use smokes proactively when you know an enemy Recon operator is active, not just reactively after you've already been marked.
Tasks and Quests: Reading the UI Correctly
Blue diamonds on the map mark main story quests; blue squares mark repeatable tasks — learn this distinction early so you're not chasing the wrong markers.
Hold Shift to open the quest-tracking panel, which shows your current objectives and their map locations.
Clicking a quest in that list highlights its physical location on the map, which is the fastest way to navigate to objectives you haven't memorized yet.
Many early tasks require standing inside a marked blue circle while eliminating a set number of AI or players — kills outside that circle won't count, so check your task text carefully.
Some later-game tasks require playing support operators and using specific gadgets (for example, healing a set amount of HP with Stinger's kit), so don't fully specialize into one operator before checking your task list.
Economy and Extraction Basics
Extracting secures your raid earnings and task rewards; dying before extraction loses everything from that run.
Pay-to-extract stations let you convert your in-raid earnings into secured money mid-map, at the cost of a portion of task-specific rewards — useful when you're on a bad run and want to cut losses.
Sell through NPC vendors for guaranteed instant cash, or list on the auction house for potentially higher returns on rare items — right-click an item to compare both prices before deciding.
If you're using the auction house, undercut the current lowest listing slightly to guarantee a fast sale, since auction slots are limited and sitting on unsold listings wastes that capacity.
Use Loadout presets to instantly rebuy your previous kit after a raid — once you have two or three presets configured, re-gearing between raids can take well under a minute.
Keybinds Worth Changing Immediately
Separate jump and mantle onto different keys before your first serious raid.
Set a comfortable key for firing your operator ability/ultimate — this gets used constantly and shouldn't require an awkward reach.
Bind the medwheel (default: hold 5) somewhere accessible mid-fight.
Note: the drop-item key currently cannot be rebound, which is a known limitation competitive players have flagged.
FAQ
What's the best operator for a Delta Force beginner? D-Wolf is generally the most forgiving pick for new players because his kit rewards straightforward aggressive play and doesn't require managing complex information tools. Luna is also strong but has a slightly higher skill ceiling since her value comes from positioning and information, not direct damage.
How do I tell if a nearby sound is an enemy player or an AI bot in Delta Force? AI bots cannot jump or mantle. Any jump or climbing sound you hear during a raid is guaranteed to be a real player, making it one of the most reliable audio tells in the game.
What loot should I prioritize as a new player? Focus on purple-and-above rarity items, ammo stacks (especially armor-piercing calibers), named rifles, and 40-slot backpacks. Most blue-tier gear isn't worth the inventory space early on.
Does repair kit tier matter for fixing armor in Delta Force? No — any repair kit can repair any armor tier. Lower-tier kits simply restore less total durability per use; there's no compatibility penalty.
Can I rebind jump and mantle to separate keys? Yes, and you should. Leaving them combined is one of the most common causes of avoidable deaths, since it causes accidental mantles during firefights or repositioning.
What does pay-to-extract do in Delta Force? It lets you convert your current raid earnings into secured money at a mid-map station, at the cost of losing a portion of your task-specific rewards. It's a useful safety option if you want to bank progress without pushing for a full extraction.