
Delta Force AZ-3 Money Making Guide: Solo Knife Run Strategy
The fastest way to build a stash on AZ-3 without risking expensive gear is a solo knife and pistol run. Instead of dropping in with a full combat kit, you enter with a sub-$130,000 loadout, avoid every fight you can, and beat the crowd to guaranteed high-value containers. Run cleanly and you'll walk away with 1-2 million per raid, no gunfights required.
This guide covers the exact kit, the spawn-dependent routes, and the radiation and stealth mechanics that make this repeatable — not a one-time lucky run.
If you haven't already, it's worth reading our AZ-3 map guide first for the boss fight, keycard chain, and mobile tank extraction — this article focuses specifically on the low-risk economic route, not combat or the reactor mission.
Why Knife and Pistol Runs Beat Full Combat Kits Early On
A knife/pistol run means entering with minimal gear so a death costs you almost nothing, while still hitting the map's best loot. On AZ-3, Normal mode requires an entry value of $112,500 — so a kit sitting just above that threshold gets you into the good loot pool without exposing a real investment.
This isn't meant to be a permanent playstyle. It's a way to:
Stack early cash fast, without funding it with expensive gear losses
Learn AZ-3's layout — spawns, decontamination points, container clusters — while the stakes are low
Build a financial buffer so you can eventually run aggressive, fully-kitted loadouts with confidence
Easy mode has no entry value at all and works for practicing routes with zero risk. Normal mode is where the real payouts are, since loot quality scales with the entry threshold.
Best AZ-3 Knife/Pistol Kit for Solo Runs
Keep the kit around $130,000 total — just over the Normal entry minimum — so a death barely dents your stash.Every piece below is chosen for stealth and cost-efficiency, not firepower.
Helmet: A purple hearing-bonus helmet (roughly +50% audio range). This is the single most important item in the kit — it lets you hear footsteps, gunfire, and utility use well before enemies hear you, giving you time to crouch, reroute, or back off entirely.
Armor: Basic green armor. It's cheap and just needs to survive robot damage; swap it mid-raid if you kill something better-armored.
Weapon: A G18 pistol with a 33-round magazine and RIP rounds. This isn't a fighting gun — it's a leg-breaker for careless solo players and a last-resort defensive tool. Never take open fights against geared teams with it.
Medical: A green outdoor med crate with a tactical surgery kit and painkillers in your safe box if you have the space. If not, cheap 2x2 blue heals work fine — you're mainly patching chip damage from radiation and robots, not gunfights.
Operator: Why Hackclaw Is the Default Choice
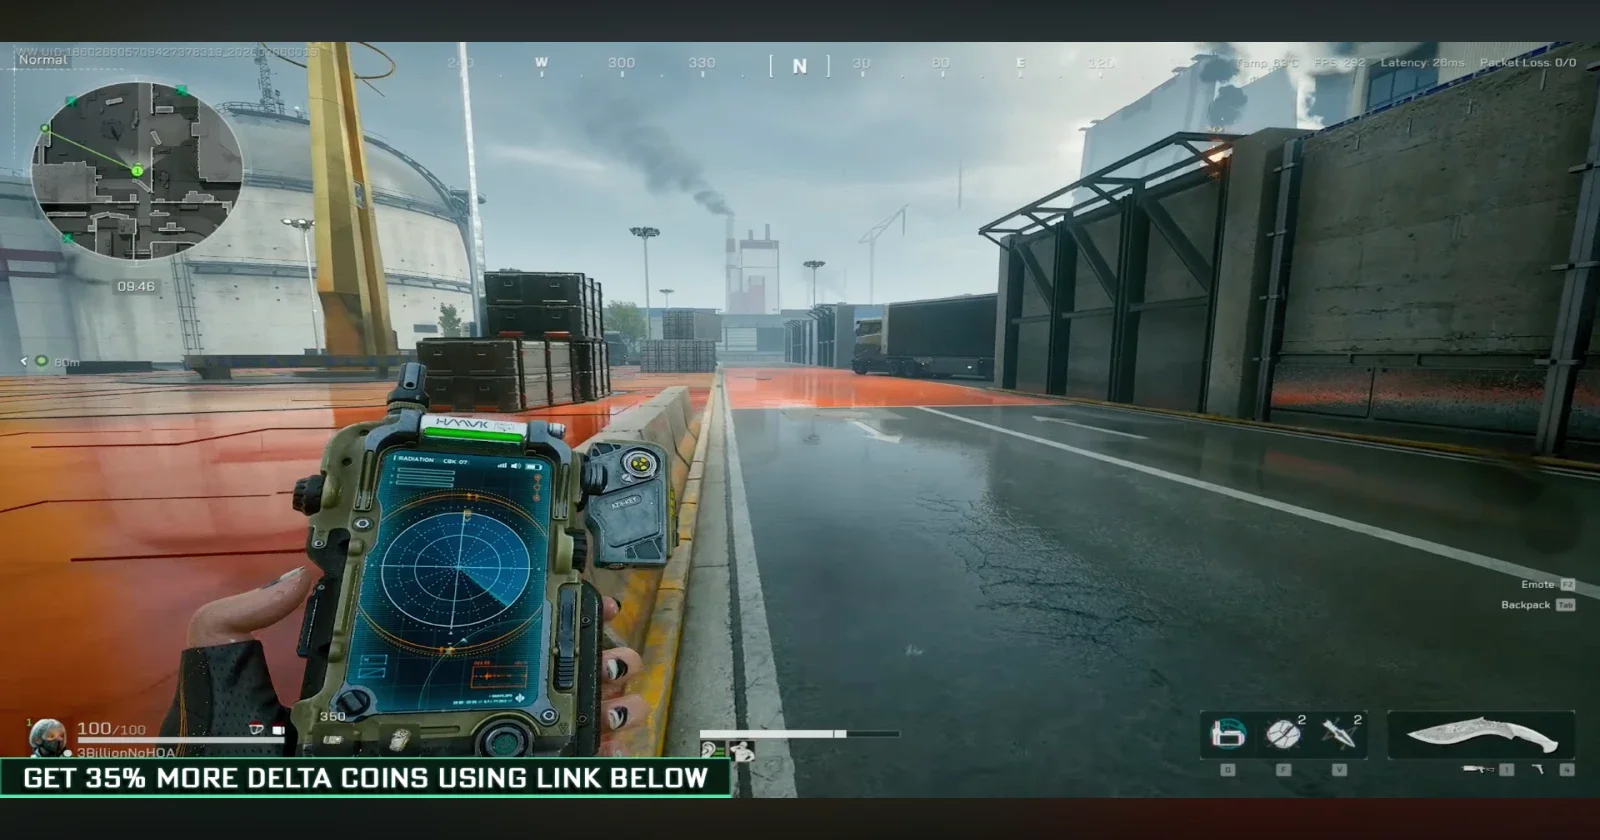
Hackclaw is the strongest operator for this route because her knife kills AI enemies silently, and each kill shortens her cooldown for the next one. AZ-3 has a heavy robot presence, and clearing them with a knife instead of a gun keeps you off the radar entirely — no gunfire means no players turning to check what's happening.
If you run a different operator, bring a silent alternative like a bow so you're not forced to fire a gun every time a robot blocks your path. You'll lose Hackclaw's cooldown-reset synergy, so be more selective about which robots you actually need to clear.
AZ-3 Radiation Management for Loot Runs
Radiation builds in four stages, and each one adds limb damage, health drain, and movement penalties until you're one hit away from dying to almost anything. It comes from looting radiated containers, standing in gas rooms or contaminated corridors, and crossing water or radiated zones on foot.
Manage it with a simple loop:
Loot a cluster of containers
Clear your radiation at a shower or decontamination point
Push deeper or chase a passkey only after you're clean
At higher radiation stages your character starts coughing and groaning audibly — sound that can give away your position in quiet buildings. Don't stack radiation from multiple gas rooms back to back without a plan to clear it.
Water on AZ-3 is heavily radiated, offers poor loot, and holds sharks. Only use it for emergency repositioning or a pre-planned shortcut, never as a primary route.
AZ-3 Loot Routes: North vs. South
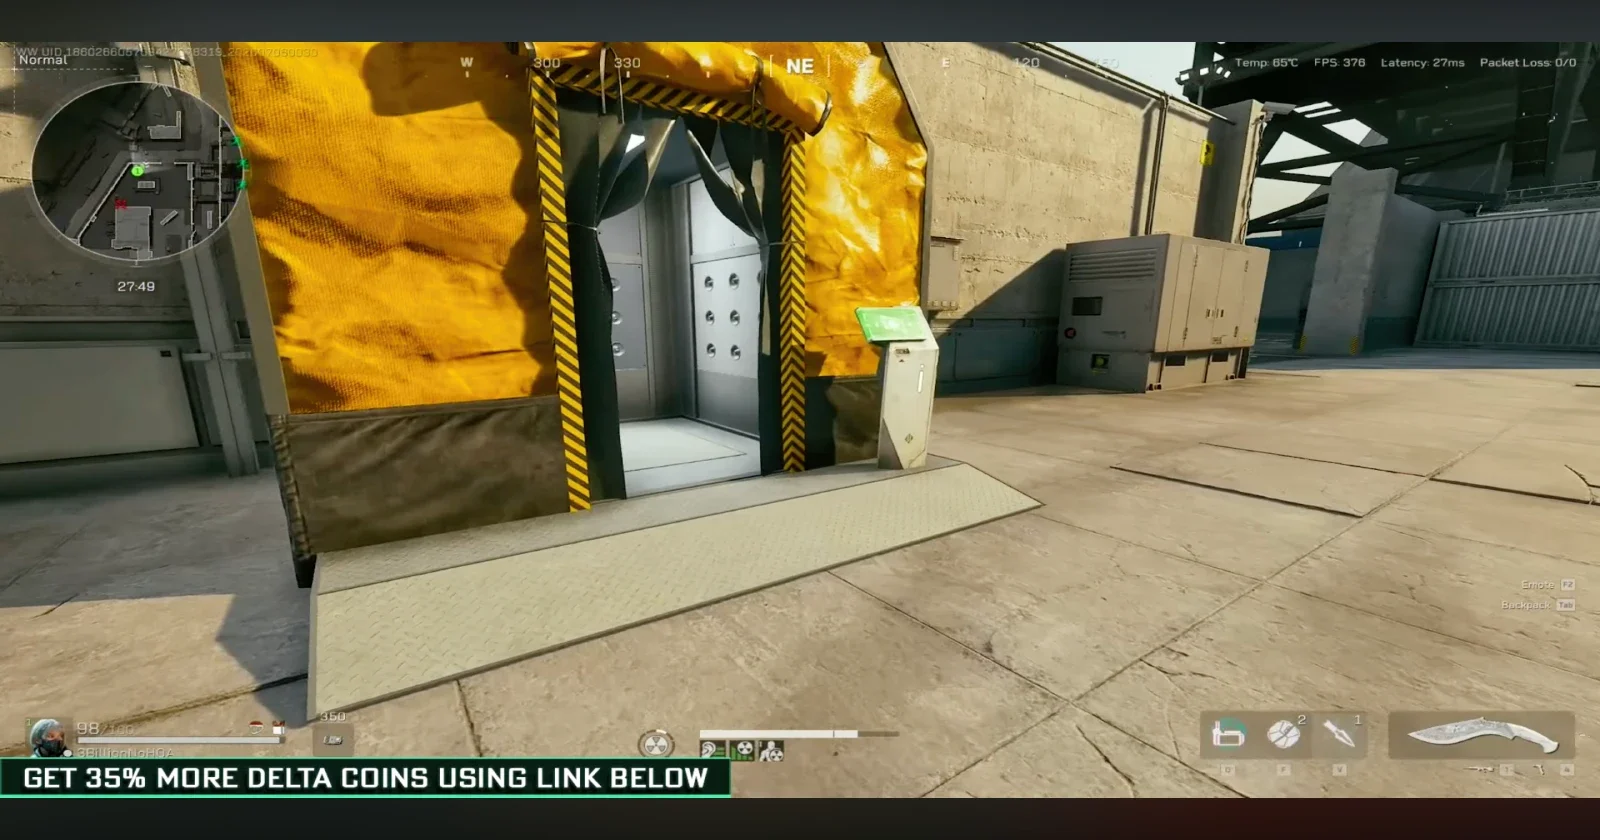
Your route is decided entirely by your spawn point, not by preference — check your spawn dot first and commit to either the south or north path. Most squads on the outer ring sprint straight to the middle for missions and fights, which opens a window for you to sweep outer-edge buildings before they're picked over.
South Route
Cross your nearest southern bridge immediately — the tier-one teams that spawn there almost always push inward rather than checking behind them, so speed beats stealth here. From there, hug the shoreline and docks, looting thoroughly. These lower buildings hold radiated containers and weapon crates that can produce attachments worth hundreds of thousands on their own.
Car shortcuts appear at several southern points, letting you vault walls or bypass locked doors instead of paying for expensive keycards early in the season. Purple passkeys picked up along the way are worth grabbing since they can chain into gold or red passkeys — but don't chase red passkeys that pull you toward the congested middle if you're already loaded up or short on time.
North Route
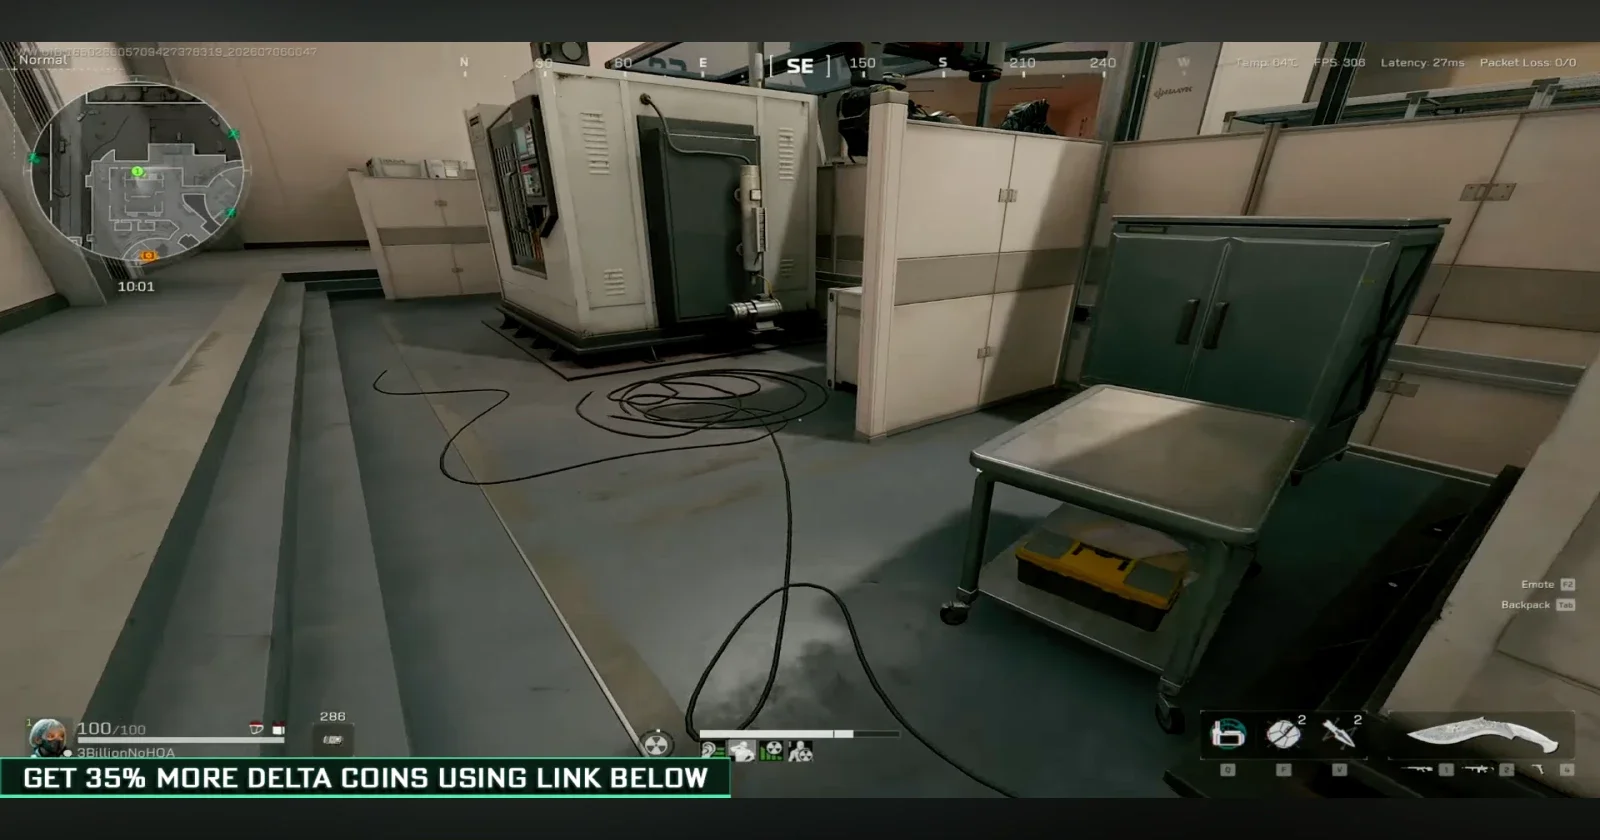
North spawns are quieter — often only one of two nearby spawns activates, meaning nobody is directly behind you at the start. Use that safety window to grab any early weapon crates before committing to the long route across.
Three ways to cross to the far north side:
Engineer shortcut — cutting through blocked walls, the fastest option if you're playing that class
Parkour path — climbing pipes and tarps, slower but reliably safe and often overlooked by other teams
Radiated tunnel path — faster, but exposes you to radiation; it holds two radiated flight cases (one lower, one upper) that are usually uncontested
The north side tends to stay quiet through most of the raid, since teams that spawn there typically rotate toward the middle or south instead of remaining up top.
Core Priorities Every Raid
Hit guaranteed and radiated flight cases as early as your spawn allows
Chain through radiated and gas rooms while keeping radiation manageable between clears
Check every weapon crate — attachments and ammo add up fast, even from "average" containers
Track showers, purifiers, and confirmed flight case spawns as you go so future runs get faster
Passkeys and Keycards Explained
Passkeys drop as ground items with a beeping audio cue, in purple, gold, and red rarities. Purple passkeys lead to smaller rooms but can contain a better passkey inside. Gold passkeys typically open rooms with mini safes and solid mid-tier loot. Red passkeys almost always guarantee a big safe — but often route you toward the crowded middle, so weigh the loot against the travel risk.
Because the game doesn't show distance or direction on passkeys, you can pick one up and discover the target room is hundreds of meters away through dangerous terrain. Track your keycards manually too, since AZ-3 gates several doors behind specific named cards — the train/railway card in particular is worth prioritizing since it opens shortcuts you'll use on nearly every run.
When to Leave Instead of Pushing Further
Be willing to extract with 1-2 million rather than risk a heavier stash chasing one more room. Watch for two signals that mean it's time to go:
Reactor meltdown warnings — the reactor typically melts down with about five minutes left if untouched, radiating the map hard and pushing everyone toward extraction. If a team claims the flagship mission early, this can happen with much less warning.
Contested temporary extracts — heavy fighting or ability use at a nearby temp extract means you should switch to a different exit route rather than walk into it.
Skip red or gold passkeys that pull you toward the center if reactor events are imminent, your radiation is already high, or your extraction side is likely filling with returning teams.
What to Expect: Typical AZ-3 Loot Run Earnings
Average clean runs: 1-2 million per raid
Above-average runs: 2-3 million, from strong passkey rooms and lucky gas room pulls
Exceptional runs: 4-5 million, from map-exclusive red items or rare high-tier loot
These numbers assume solo queue only — bringing geared teammates on a knife/pistol run slows you down and forces you to split loot, which defeats the point of a fast economic run.
FAQ: Delta Force AZ-3 Money Making
How much does a knife/pistol run kit cost on AZ-3? Aim for roughly $130,000 total — just above the $112,500 Normal mode entry requirement. This keeps your downside low if you die while still qualifying for Normal's loot pool.
What's the best operator for AZ-3 loot runs? Hackclaw. Her knife kills AI enemies silently and each kill reduces her cooldown, letting you clear robot-heavy areas without ever firing a gun and drawing attention.
How much money can you make per AZ-3 raid? A clean solo run typically nets 1-2 million. Strong passkey pulls can push that to 2-3 million, and rare high-tier loot can spike a run to 4-5 million.
Should I run AZ-3 in Easy or Normal mode for farming? Normal mode has an entry value but yields significantly better loot. Easy mode has no entry cost and is a safer way to learn spawns and decontamination points before committing to Normal.
Is it better to farm solo or in a squad on AZ-3? Solo, if the goal is a knife/pistol economic run. Squadmates slow the pace and split the loot, which works against the point of a fast, low-risk cash run.